Learn how to save and activate your CVE content cards
As you’re editing your content, make sure to click save as you go along! This is the floppy disk icon. See below for some tips 💡
-
Once the floppy disk is clicked, you’ll see a green check mark meaning changes have been saved.

A few tips:
-
If another user on your team has saved content while you're editing the same card, you'll receive the option to switch to the new version or overwrite those changes
-
Every time a user makes an edit to a content card, or every 2 minutes, whichever comes first, a version of your content card auto-saves to the user’s browser cache
-
If you leave the the content editor page without saving (examples: closing out of a tab or restarting the computer), when you return to that specific content page you'll be notified that a previous auto-save version is available.

When you’re ready to preview your content, you can activate your card by clicking the black “activate” button. When the dialogue box pops up, it will confirm you want to activate. This won’t send it out, but will make it possible for you to preview on a mobile device and use in a campaign. 
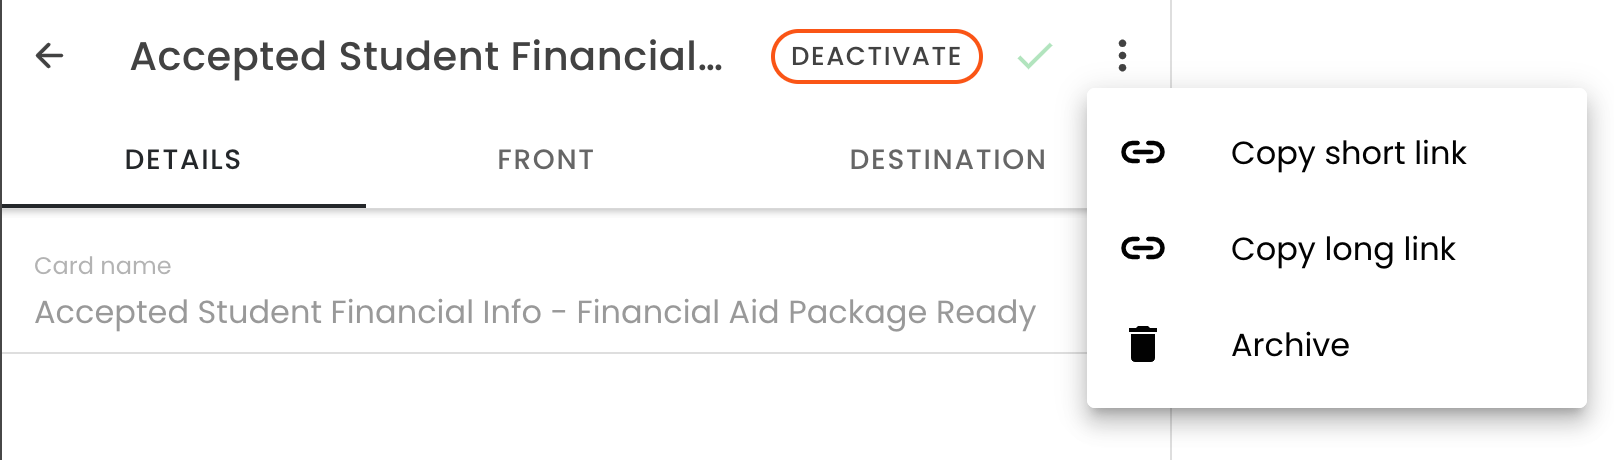
To retrieve a direct link to the content card, copy either the short or long links found by clicking the three vertical dots to the right of the Activate/Deactivate button. This link is helpful to use on websites, in emails, on mailers, etc. A content card needs to be activated in order for the link to work.
Your content card must be activated to be visible to students. Once activated, you can still make edits. Also, your card must be activated to use it in a campaign.