Learn how to test and activate your ASE campaign
You're almost there! Your content, data upload and campaign are set up. Now, let's go through testing to get to launch.
Finalize All Elements
Before testing, make sure that the following elements are completed:
-
Content card (if also incorporating a supporter card, make sure that card is activated too)
-
Data upload
-
Campaign creation
Your lens approval form should have been completed before this point so that you can also test your lenses. If they have not been sent to you and/or approved, please contact your CSM. You can also launch your initial campaign without lenses and include them later, if you would like.
Testing time! Your contact and audience files are uploaded, campaign saved, social lens approved and content card(s) completed.
Test Campaign and Content
We recommend testing before activating any campaign. Follow the steps below on how to test.
1. First, confirm that you received the message after clicking the "Test Campaign" button. If you did not receive the message, please submit a support ticket here.

2. Once you have received the message, it's time to make sure everything is conveying as expected. Check each of the following:
-
Your campaign message:
-
Is free of grammar and spelling mistakes
-
Includes all expected tags
-
Includes intended emojis
-
Links to the correct content card
-
- Click on the link in the campaign message to your content card. Your content card:
- Has all correct link destinations
-
- Is free of grammar and spelling mistakes
-
- Includes all expected forms
-
- Includes all expected tags
-
- Includes all expected media elements
- If supporter card used, tap button and test text the supporter card to yourself
-
-
Does this open up a SMS message to text your Supporter Card?
-
Text your Supporter Card to someone or click on the link in the message preview.
-
-
-
-
- Does your Supporter Card convey as expected with accurate links, content, and media?
-
- Test out your social media designs
- Each button goes to the correct social media company
- Designs are correct and displaying properly
A note on tags and testing:
Test recipients will see basic tags when receiving a test message: first name, last name, mobile phone number, contact ID, and email.
If any custom tags were used such as <<Student_Major>> it would show in the content card and/or campaign message as: "your major" and not fill the major in for the test. If you would like to see custom tags during the testing process, please upload yourself as a contact and then include that contact in a test audience file.
If any custom tags were used such as <<Student_Major>> it would show in the content card and/or campaign message as: "your major" and not fill the major in for the test. If you would like to see custom tags during the testing process, please upload yourself as a contact and then include that contact in a test audience file.
If you run into any technical difficulties while testing, please submit a support ticket.
Activate Your Campaign
If you're ready to send the Campaign, click "Activate". You will receive a warning message similar to the below screenshot, but adjusted for the frequency you selected.
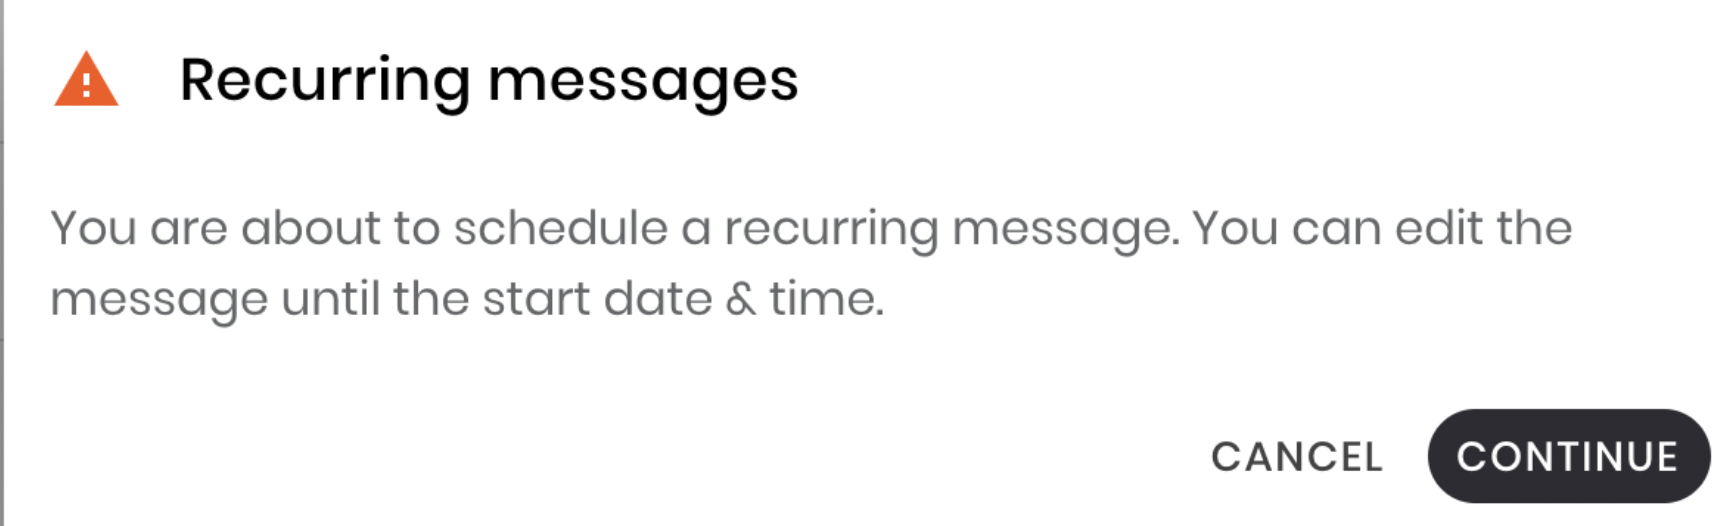
Click "Continue" to activate the Campaign. The Campaign will then appear in your Campaign list. The green cloud ☁️ indicates that your campaign is live!
Meet with your CSM regularly to review engagement, adoption, and best practices.
- View campaign performance via “Activity” or "Campaigns" in the FM platform
- View content interactions via “Activity” in the FM platform - make sure to select the name of the content card
- Continue the conversation individually through “Activity” or via the “Messages” section
You did it! You launched your Accepted Student Experience 🥳