Uploading an Audience File in the StudentBridge Platform
The second step in launching your own Campaign involves uploading an Audience file.This process will mirror the Contact File upload process you just learned! Your audience files are target groups of students that you'd like to message.
The Upload Audience feature should only be used for audiences that do not need to be updated regularly, or are used in On Activate or Date & Time campaigns. If your CRM supports automatic data transfer to the sFTP, audience files should be updated through that process. If you are manually updating the audience files for Rolling campaigns, then you should utilize this upload feature.
Review the Audience File Overview section to learn how to build your .csv Audience File.
Follow these instructions to upload an Audience file to the Full Measure platform.
⚠️ Wait until your Contact File is successfully uploaded in the platform before uploading your Audience File. Contacts needs to exist in the platform before they are segmented out as an audience.
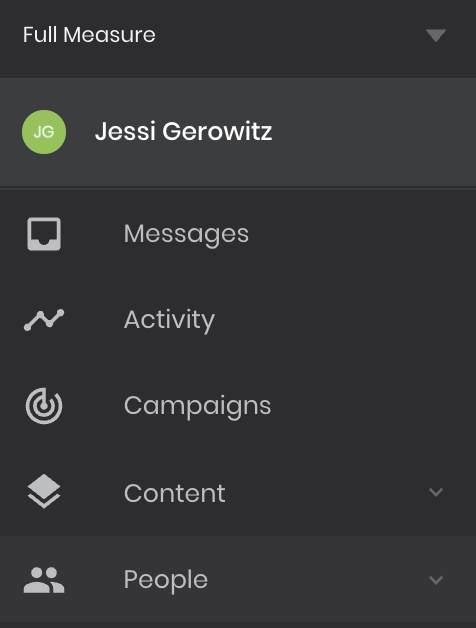
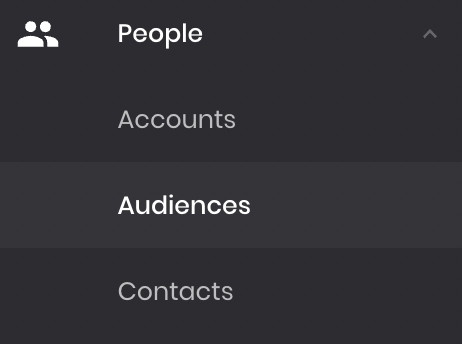
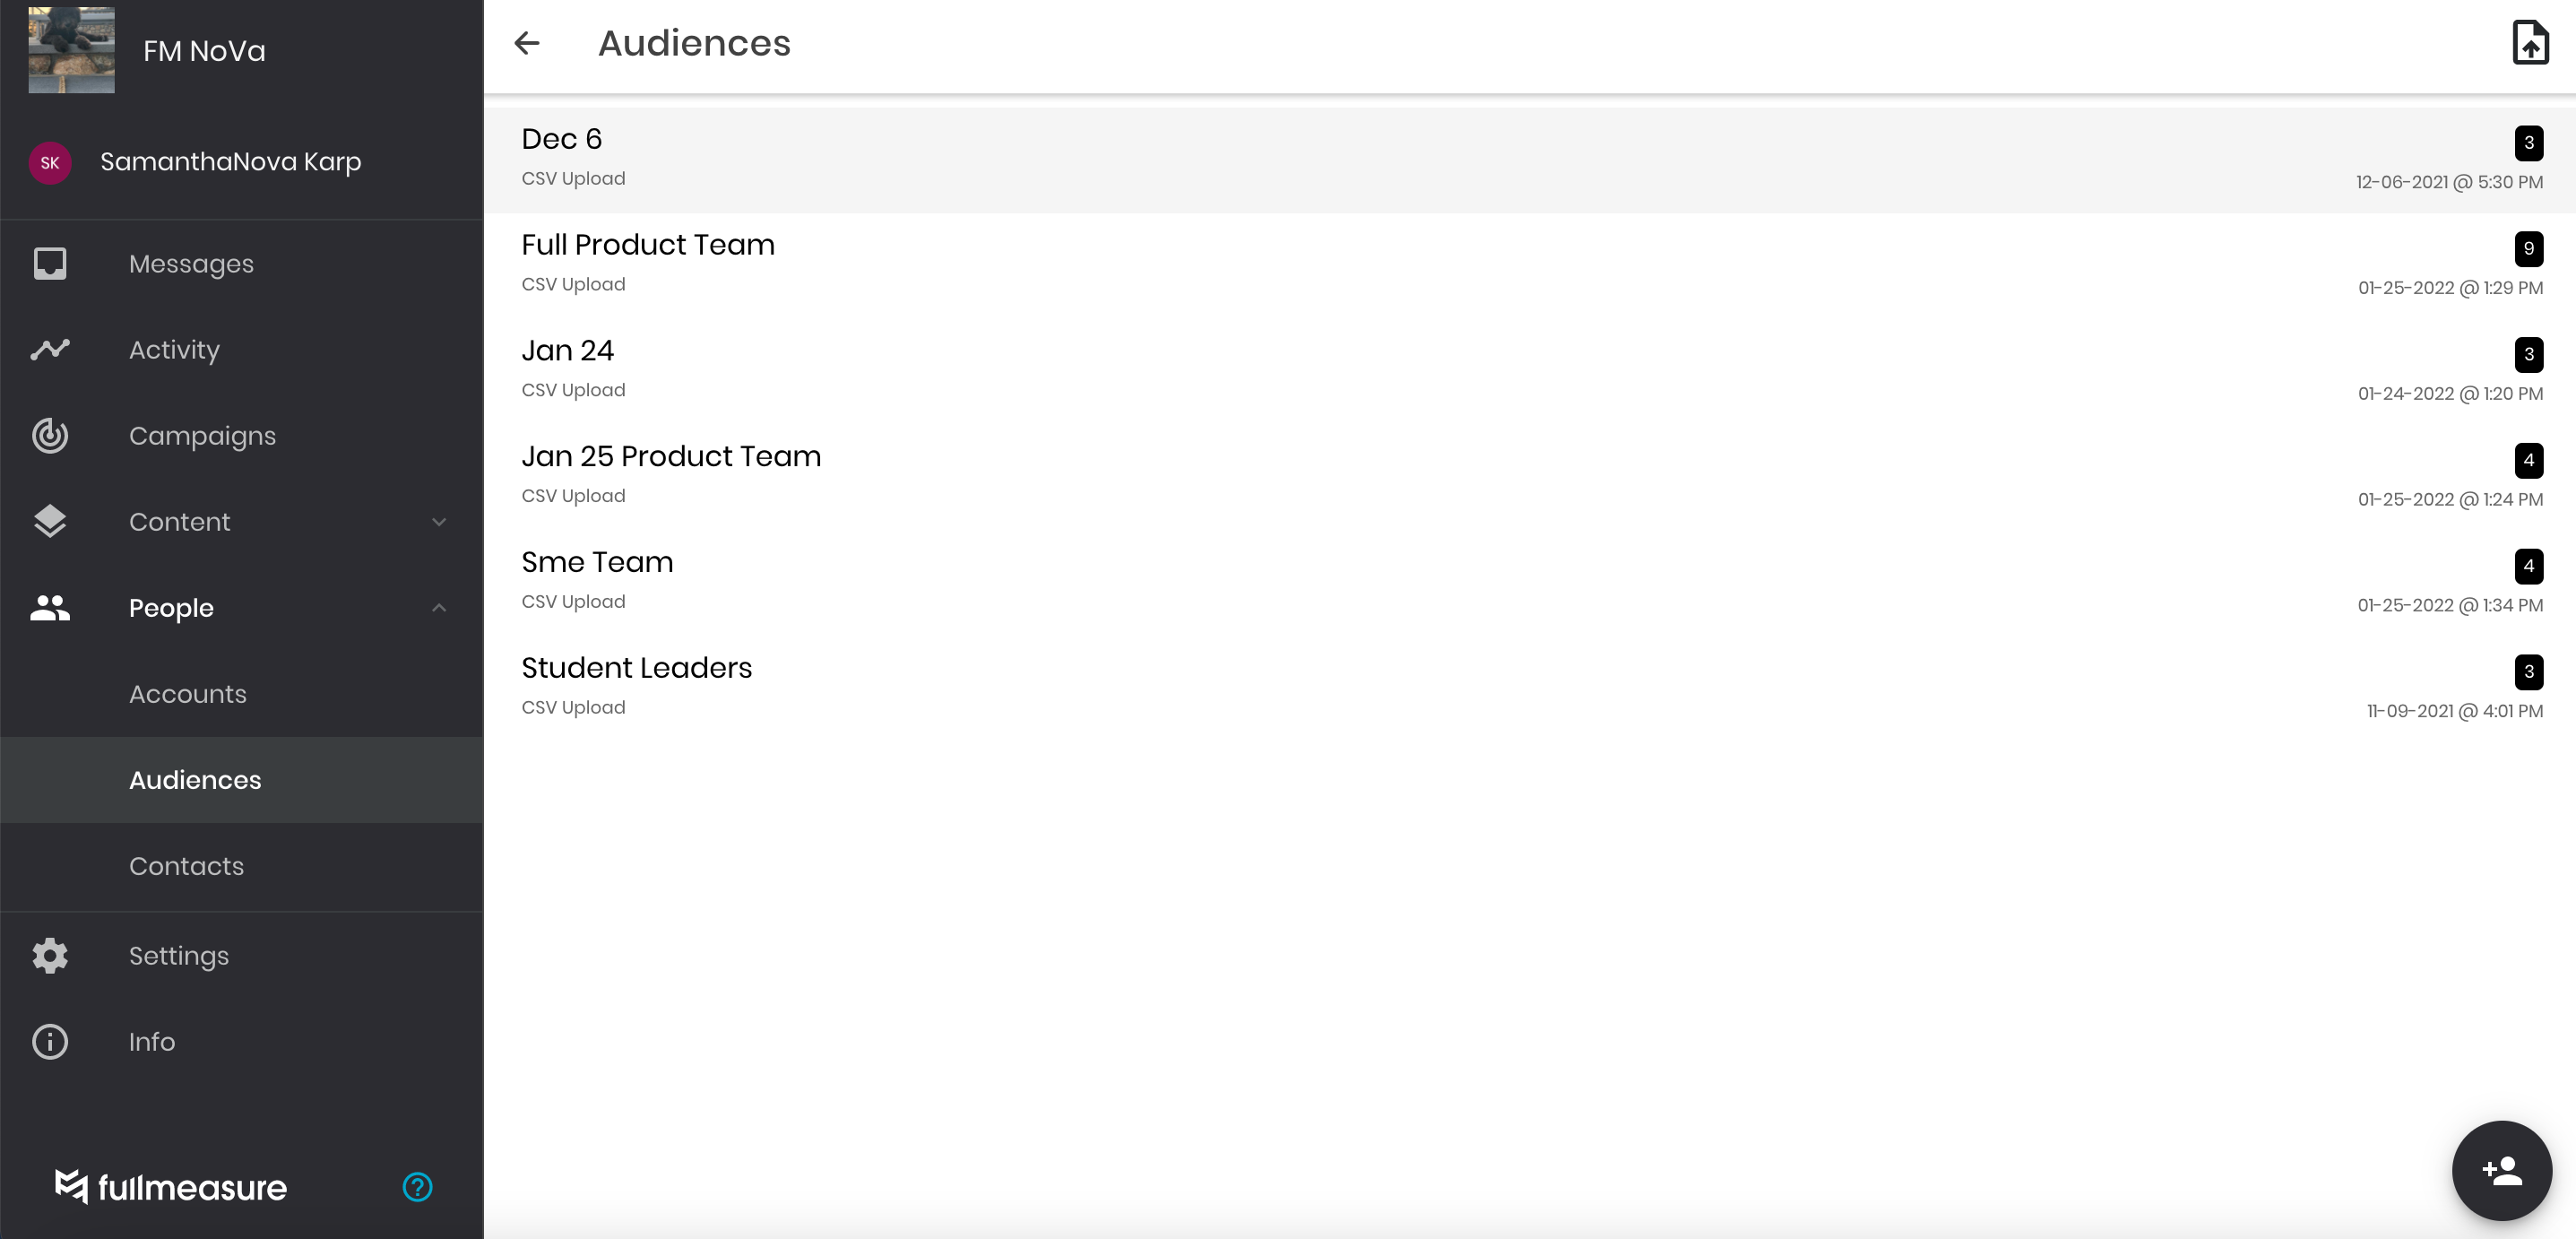
Step 1: Click "People" in the left-hand navigation bar, then select "Audiences"
Step 2: Click the "Add" button in the bottom right-hand corner to begin uploading a new .csv Audience File.
Click the button in the bottom right hand corner
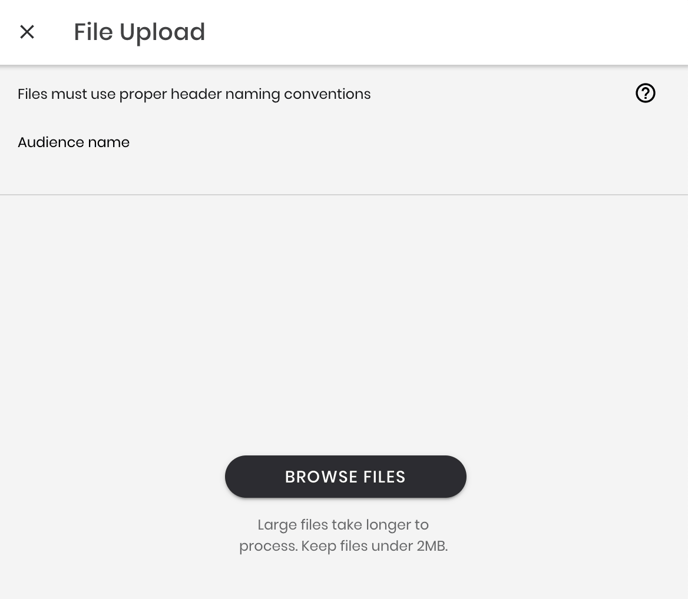
Browse files to upload your audience file
If your .csv header does not match the required naming conventions, you'll receive an error notification
You can download a template .csv file and review the required header name by clicking the❓button
Step 4: Click the Upload File icon in the top-right corner to check the status of your audience file upload.
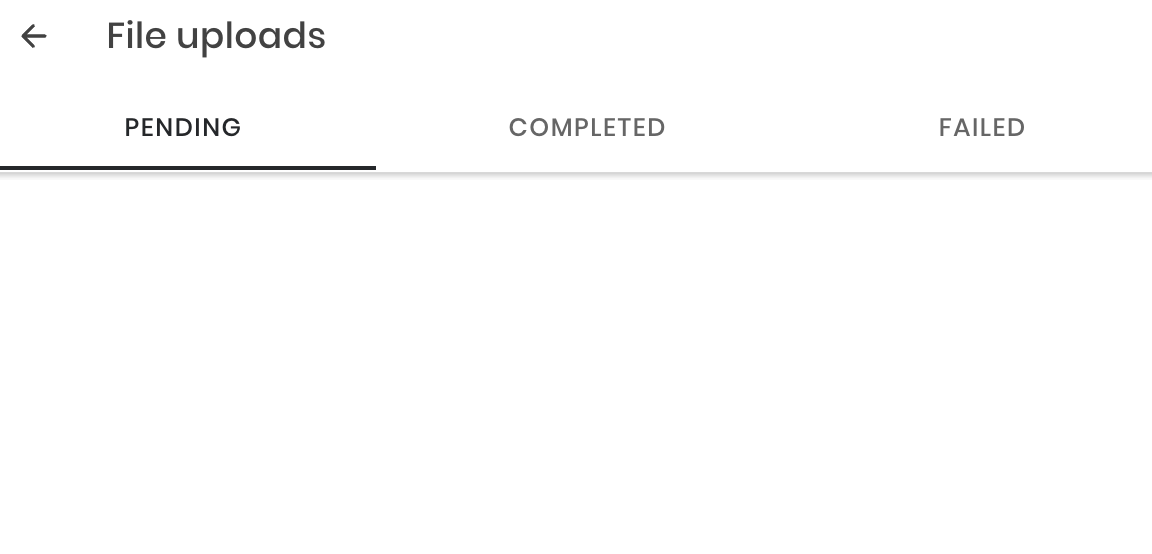
Pending, Completed, and Failed Audience File Uploads
If a student doesn't exist in one of your contact files, an error will appear in the system
That's it! Once you see your file in the "Completed Section", you can move into the Campaign Creation process.
You can also message students directly from your Audience File. Select an uploaded file, and all students included will appear. Select the three dots next to their name, then click "Message" to send a direct message.


.png?height=120&name=SB_Logo_Green-Charcoal-300dpi%20(1).png)