Learn how to test and activate your campaign
Testing Your Campaign
Before you activate your campaign to deliver to your student audience, you should always test to your internal team first. Testing is essential to review the content of your message, the timing, and the content card to ensure everything appears as you intended.
-
Once you have saved your campaign, click the 3 vertical dots to test the campaign

-
Once you select "Test Campaign," you will see a list of Test Recipients. Test Recipients are any staff members that have the 'Test Recipient' permission toggled on. If you need to add yourself or other team members as Test Recipients, please submit a support ticket with their name, email and mobile phone number.
-
Check the members of the team that you would like to send the test message to.
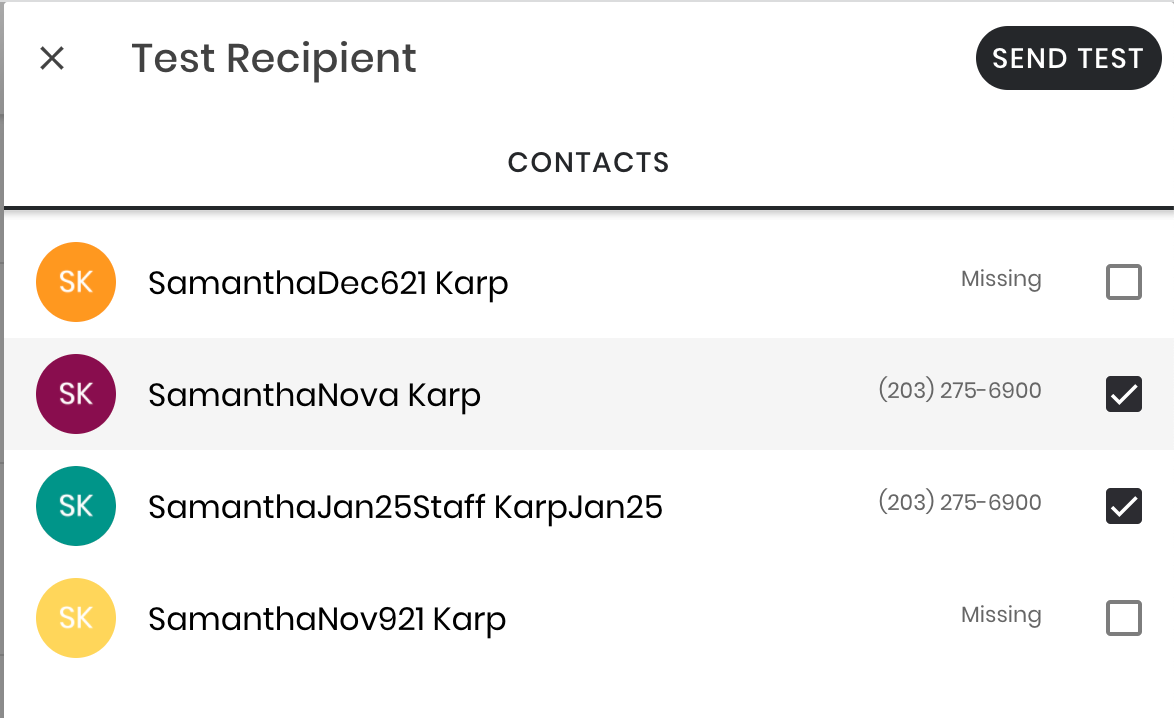
Test Recipients
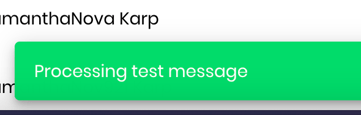
- Once you have selected the recipients, click "Send Test." You will see a notification that your test message is processing, and should receive the message to your phone shortly.
- When you and any other members of your team have received the test message and approve that it is ready to send, you can proceed to activating!
If you're ready to send the Campaign, click "Activate." You will receive a warning message similar to the below screenshot, but adjusted for the frequency you selected.
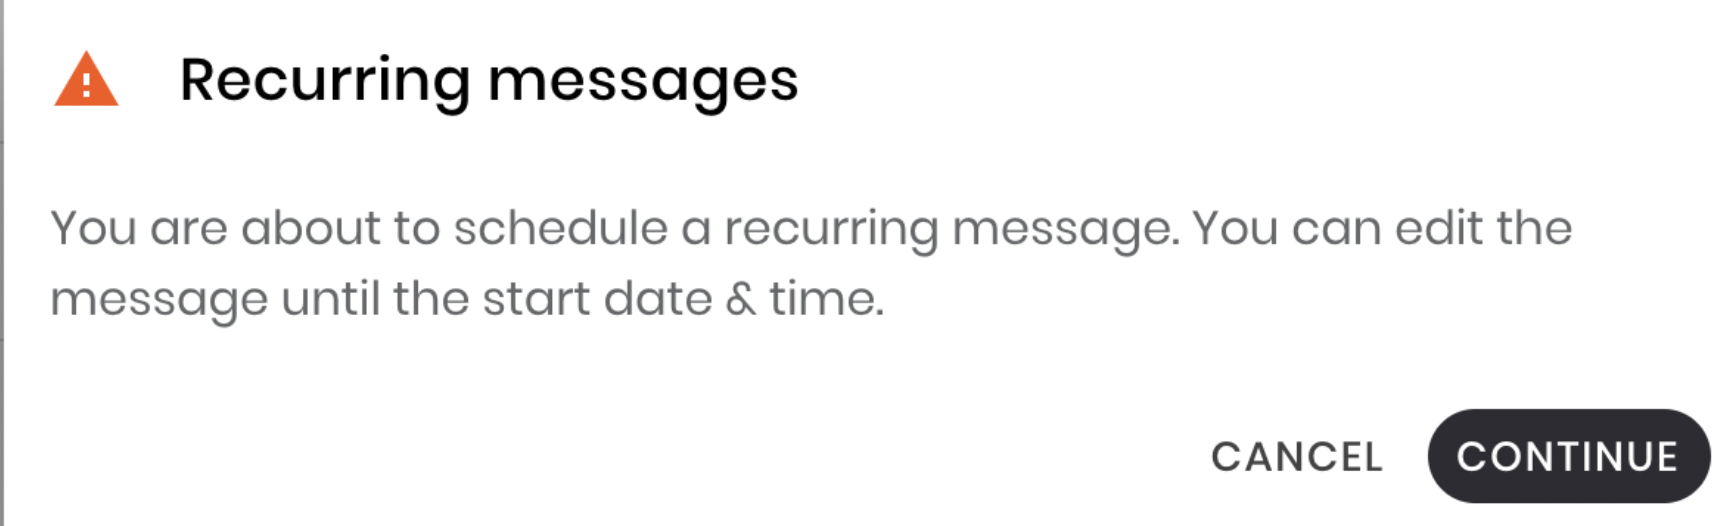
Click "Continue" to activate the Campaign. The Campaign will then appear in your Campaign list. The green cloud ☁️ indicates that your campaign is live!
Refer to our guidebook article on reviewing the engagement on your campaigns.