How to use the Personalization Tab
The personalization tab is used to associate tags to each question (i.e. what topics relate to each question) and associate content to each tag.
The main screen of the personalization tab shows the three standard survey questions for any personalized tour:
- The title and question copy cannot be edited per school
- The order of how the questions appear to the visitor cannot be edited per school
- See the number of tags associated to each question

Learn more about each question type here:
Using Tags
As you are creating and adding tags to each question, note:
- Your instance will start with a list of the top 25 used tags from our partners. Each of these pre-populated tags will already be associated to a question. You do not have to use these, but are there to help you get started.
- Tags created in the CMS will also show here
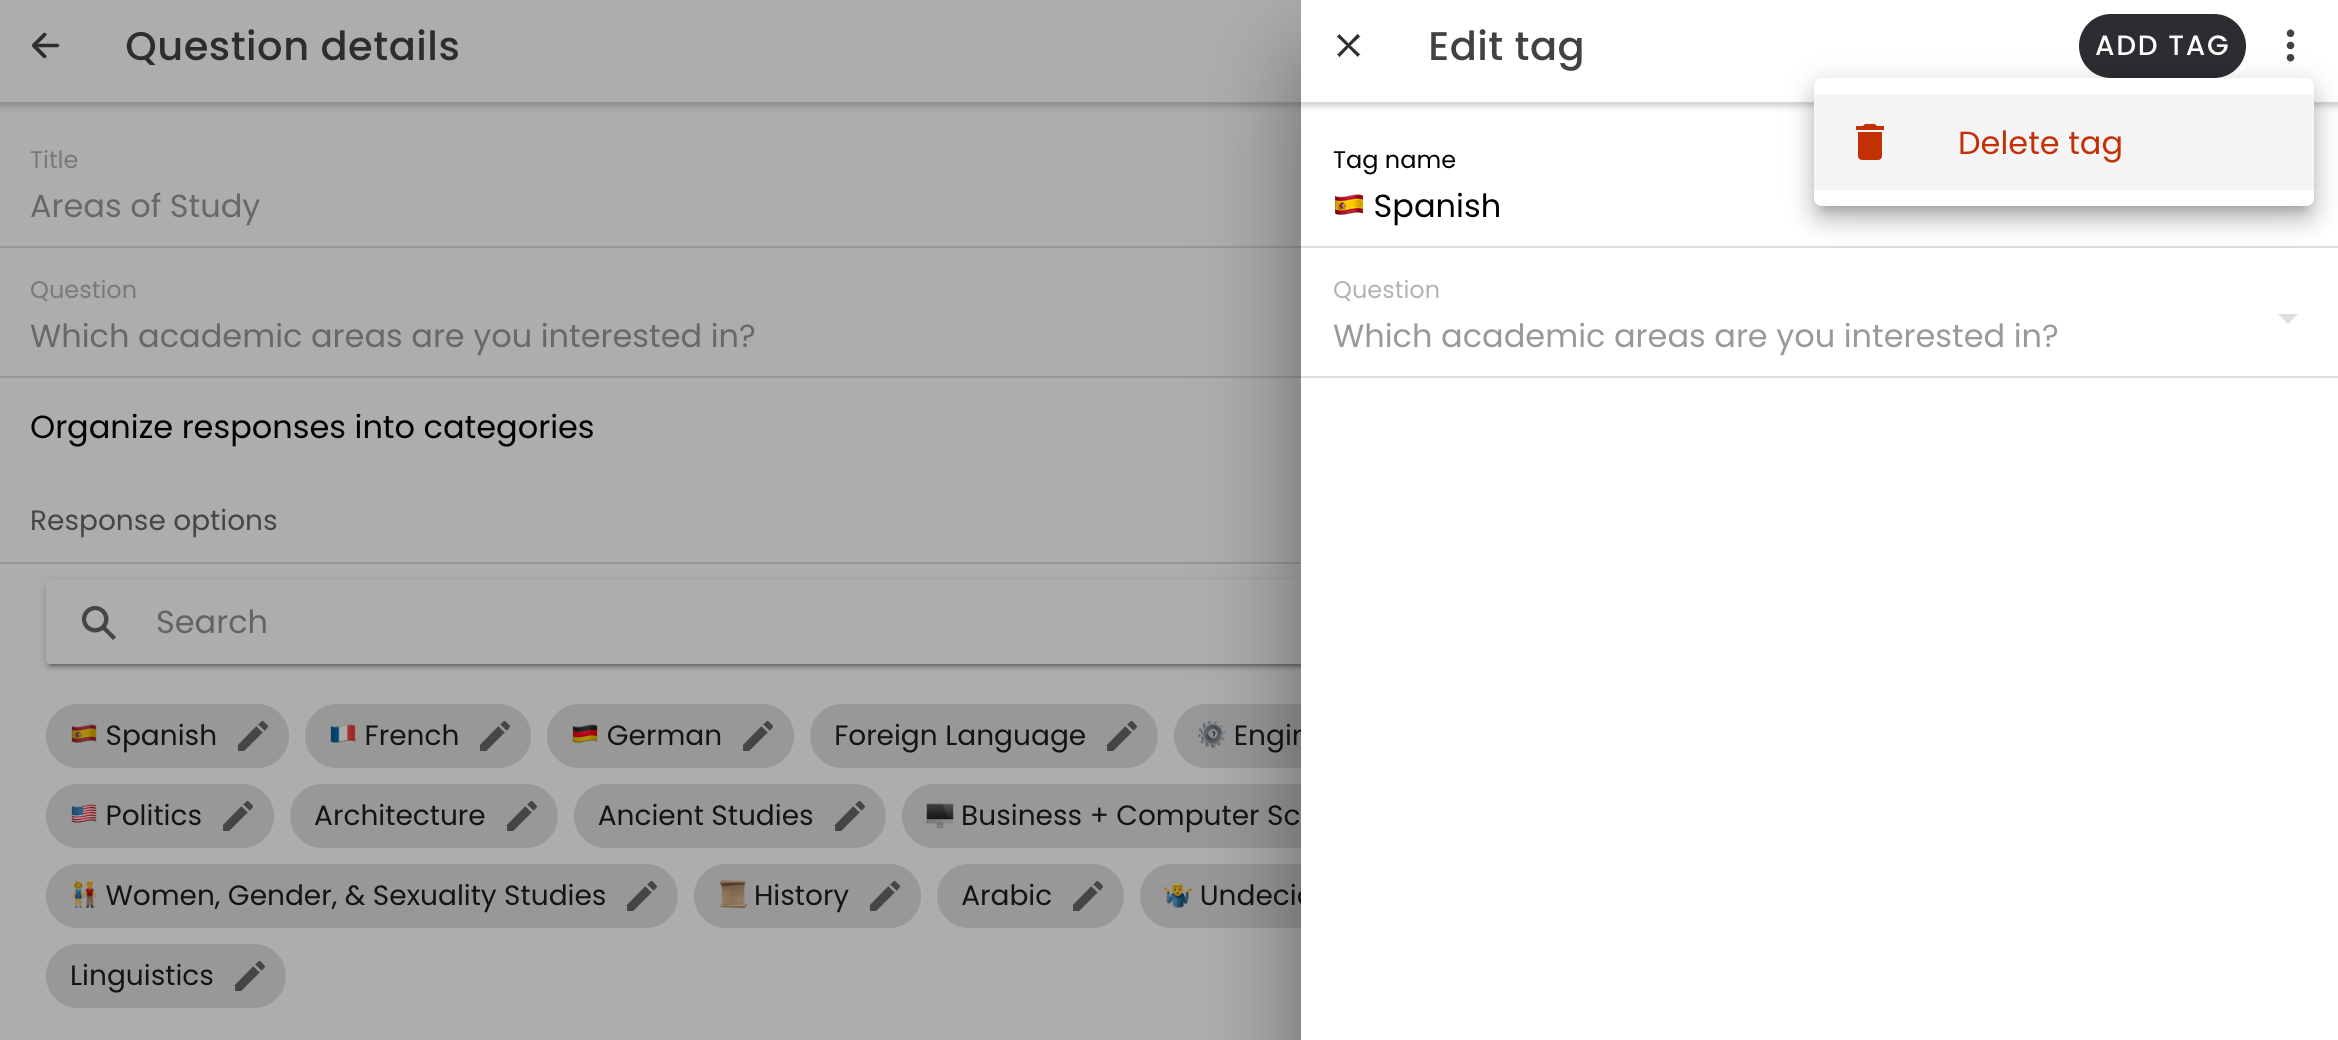
- Delete a tag by clicking the "pencil" icon on tag. Then, click the three-dot menu in the upper-right and select "Delete tag".
- Search for a tag being used for each question in the search bar - if it is not created, you have the option to create it.
Adding Tags
For any question, add a tag by simply clicking the + button in the bottom right hand corner. Or, try searching for the tag and, if it is not already created, follow the prompt to create it.
Areas of Study
This is a great place to list your academic options. Some schools use this as a space to list all of their majors; however you may want to also include academic areas that are only offered as minors. Just be sure not to overwhelm you visitors with too many options - this is where Response Categories come in!
Response Categories
Note: Response categories only can be used for the Areas of Study question.

- Toggle response categories on and off using the toggle setting. Once turned on, the categories can be created.

- All institutions will start with the "unassigned" category for tags that are not associated to a category. Add categories by clicking the + button in the bottom right-hand corner and filling in the category name in the pop-up module.
- Assign a category to a tag by clicking the pencil icon next to the tag and selecting the category in the pop-up module. If no category is assigned, it will default to the "unassigned" category.

- As categories are assigned, tags will be organized on the Areas of Study home screen by their category assignments.

Student Life
View, add and delete tags in the student life question. For tag ideas, refer to our tag FAQ article.
Themes
View, add and delete tags in the student life question. For tag ideas, refer to our tag FAQ article.