Check out the best practices we've found for the Accepted Student Experience with our partners
-
- Include a staff member's name in the message! Students are more likely to think that a real person is behind the message if a staff name is included.
- Open rates were 13% higher when a staff name was mentioned in the message!
- Allude to the admissions decision within the text message, but keep the decision a surprise until they open the link!
- We found messages that messages that had a 'surprise' feel were 1.48x more likely to be opened than those that indicated direct acceptance!
- Add an emoji! This is a fun and exciting moment 🎉
- Messages sent with an emoji were 1.77x more likely to be opened than average! 😯
- Send text messages between 4pm - 7pm in your institution's time zone
- Messages sent after 4pm were 1.9x more likely to be opened than average
- Send messages Monday-Thursday
- If a message needs to go out on Friday, aim to send between 10am-12pm if your institution's timezone.
- Include students' first name in the campaign message. Ideally, include their preferred name to further personalize!
- Include a staff member's name in the message! Students are more likely to think that a real person is behind the message if a staff name is included.
Note: If utilizing preferred name, this needs to be added in your contact file with a preferred name for each student. If the preferred name is the same as the given name, put in the given name.
-
BIG news from Chris at Winsford University! 🐺 You're going to want to see this, Lauren. Tap the link to learn more.
-
Lauren, this is Chris from Winsford Admissions. We have some exciting news about your future 🎊 Click to find out what it is.
- Hey Lauren, this is Chris from WU Admissions. 🖤 🐺 We have made a change on your application! Tap here to view your official admissions decision.
- Upload to our application as JPEG
- Max width should be 1080px (keep your aspect ratio locked if resizing)
- File size should be kept as small as possible. This can cause the image to not upload to the platform if too large.
- “Front” image guidelines: Square JPEG, 600x600 if possible
-
Mac keyboard shortcut: Press Ctrl + Cmnd + Space to pull up the emoji keyboard
-
PC keyboard shortcut: Press the windows key plus the period key (Win + .)
-
Copy and Paste: https://www.emojicopy.com/
Use Tags to Personalize Content and Messaging
One of the best things you can do is make your students feel special. Use our tag functionality to personalize your content cards and campaign messages at scale.
Read our Tags Article for examples and instructions.
Campaigns
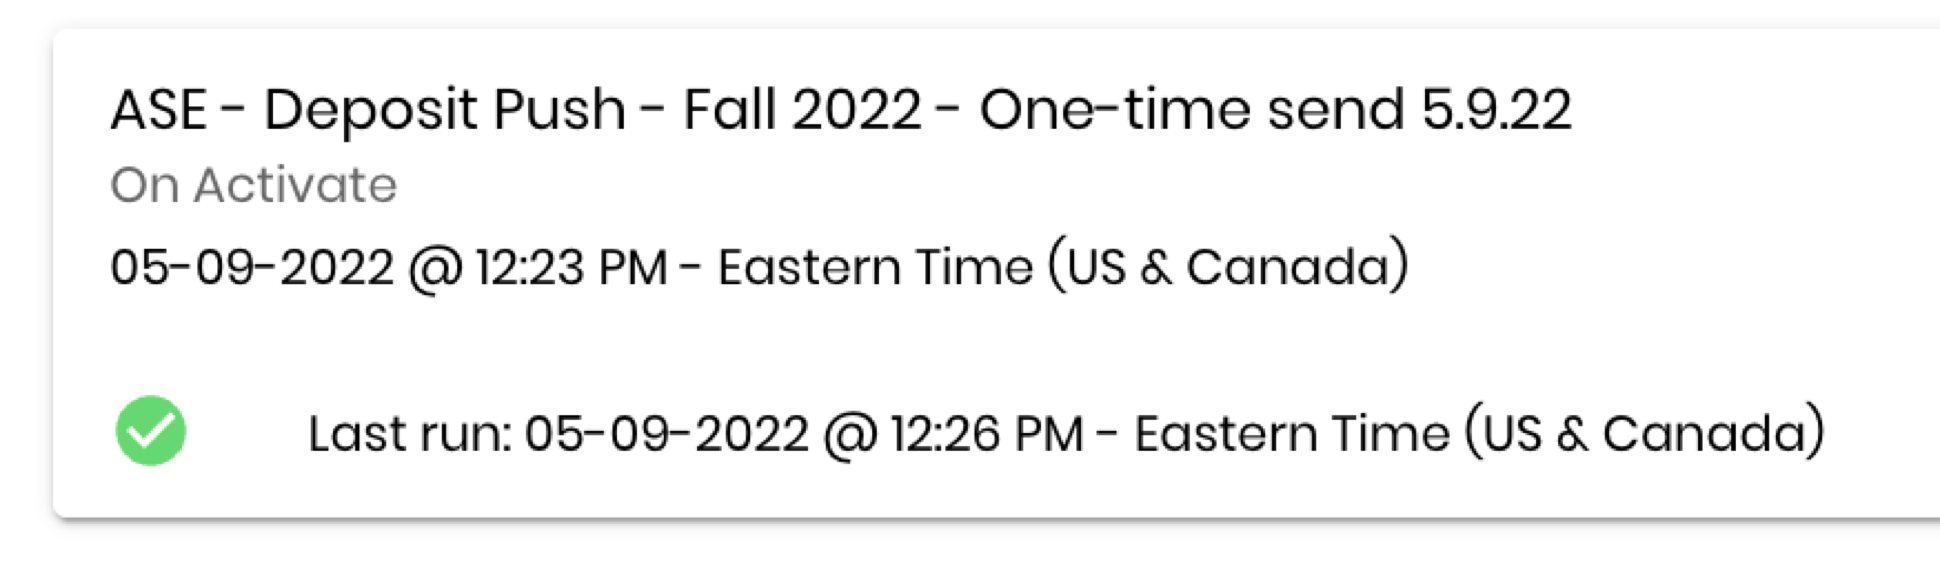
- On-Activate: Use for campaigns that are ready to launch at the same time of campaign creation
- Date and Time: Use for campaigns that should be send on one, specific date
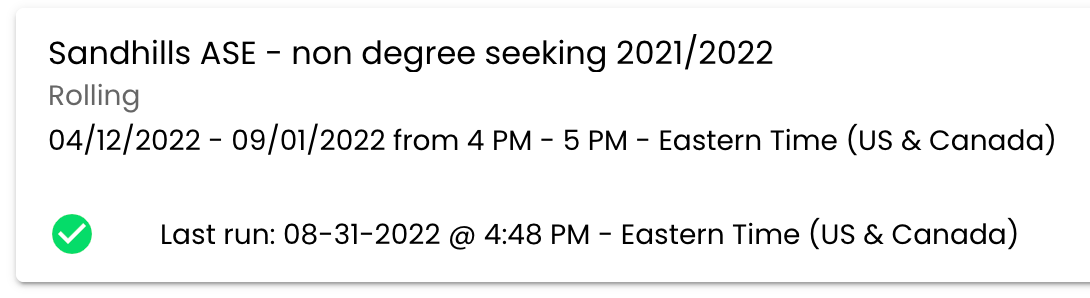
- Rolling: Use for continuous campaigns that go out daily and frequently have new students added to the audience.
Campaign Message: Limit your campaign message to 160 characters and below. Use the character counter as a guide.

- Limiting to 160 characters and below prevents possible carrier filtering and avoids your message getting split into multiple messages.
The counter will estimate the number of characters when a tag is added in the message.
Data Uploads
Upload your contact file first and wait for it to be completed. Then, upload the audience file after the contact file is completely uploaded. Uploading the audience file before the contact file is done will product an error.
- The contact needs to be created in the system before it can be an audience member.
While you are waiting for you contact file to upload, build your campaign or edits a content card.
When an audience needs to be updated, overwrite it. When naming the audience withhold the use of dates so that they can be updated accordingly.
Example: Confirmed, Fall Coaching, Accepted F23, Transfer F23
Do not Use: Confirmed 12.15.22, Confirmed 1.15.23m Confirm 1.25.23
Additional Resources
Check out our suggested content blocks to spark ideas from our partners.